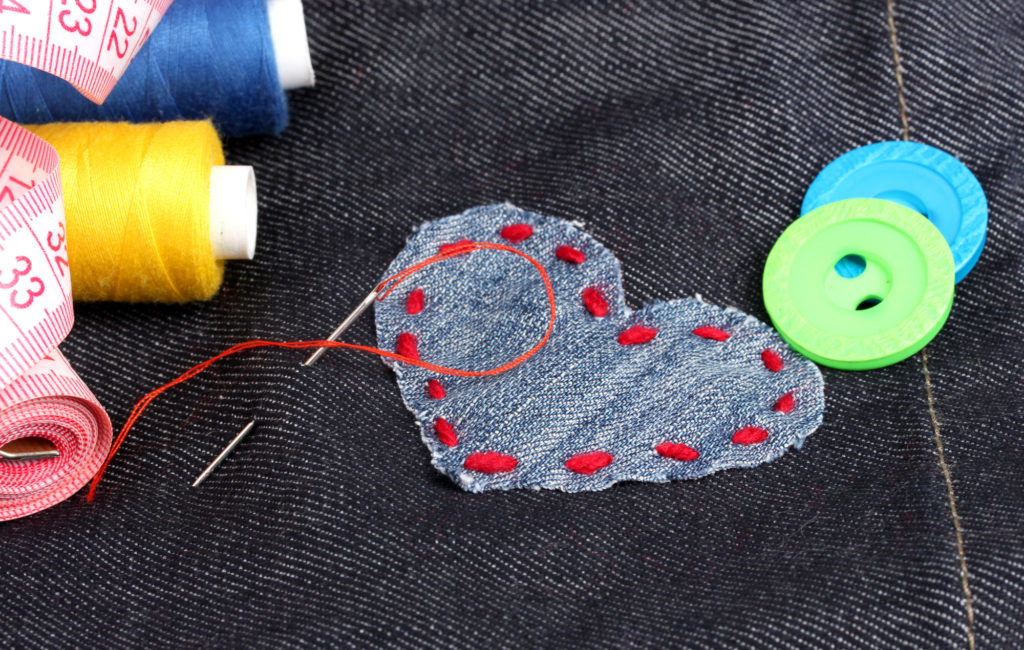
Did you know that embroidered patches weren’t fashionable when people began wearing them? Early on, their purpose was cover holes in clothing and give labels to those who wore uniforms for work.
In fact, these timeless trends weren’t used to express the personality, beliefs, and style of its wearers until the 1960’s. Today, they’re a great way to spruce up a plain article of clothing or emphasize an existing pattern.
And the best part is you can put them on by yourself without being a professional seamstress.
Do you want to know how to attach patches? Keep reading! We’re going to show you 7 fun methods today.
When Did Patches Become Trendy?
Patches first became popular in the early ’60’s. During this time, they were worn by young people as a way to protest the Vietnam War. Later in the same decade, the hippie movement began.
People started to decorate second-hand military clothes with patches. The images on them were often embellished and even satirical.
Later in the ’80’s, the look and style of the patches changed. However, they still represented peoples’ personal identities and solidarity.
These patches were adorned with things like spikes, chains, and studs. They also appeared on the clothing of people representing many subcultures like bikers and rockers.
As time progressed, patches continued to be revived and changed by fashion designers and average people. Now, patches are found on runways and in street style.
Often time, modern patches are iron on. Which makes it easier for those of us who aren’t crafters to express our personal styles and interests. And just like in the past, they can be used to accessorize everything from jean jackets, to books and backpacks.
How to Attach Patches
You can put patches on just about anything to showcase your personality. They can add stylish elegance, a rebellious flair, or team spirit to just about any garment. Put them on your:
- Jeans
- Jackets
- Blazers
- T-Shirts
- Bags
- Phone Cases
- Sneakers
Keep in mind that the way you attach a patch has a lot to do with its ability to stay on the garment. Properly applying a patch keeps it from shifting, curling up, and falling off.
In the list below, you will find 7 ways to apply your favorite patches on all your stuff.
1. Heat Seal or Iron On
If you simply don’t want to be bothered with sewing patches on, you can purchase patches that have a heat activated adhesive backing. Using this type of a patch makes the attaching process a lot easier. You don’t have to worry about the patch possibly bunching or moving around while you sew it.
The downside, however, is that iron-on patches aren’t very durable. If you are attaching it onto a garment that will be worn or washed often, the patch is likely to come off after several washes.
Read more about iron-on patches here.
2. Sew it by Hand
Sewing patches on by hand is the most common and traditional type of application. It is also more time consuming than other processes like ironing patches on.
When attaching a patch this way, you should keep it in place by using pins before you start sewing. This will keep you from experiencing bunching or having the patch move around while you work.
3. A Combination of Heat and Sewing
When you combine the first two application methods, you will have a very secure patch. Sewing it down after having activated the adhesive with heat makes the sewing process a lot easier.
Using the heat first also helps the patch keep its shape and consistency over time. This means that even after you wash the garment it’s attached to it won’t wrinkle or curl upward.
4. Applique Embroidery Sewing
Using an embroidery sewing machine can get your patches a professional looking finish. This method makes it look more like you purchased the article of clothing with the patch already in its place.
Also, using this method enables you to use additional design elements. For instance, you can use a thread or yarn in a contrasting color to add a little more excitement to your piece.
5. Glue or Stick On
Let’s say you’re looking for a temporary way of putting a patch on your clothes. Maybe you just need it to last for the duration of a specific event or you’re looking for more flexibility.
Either way, patches with glue backings allow you to simply stick them to a garment. Then you can remove them from your clothing without any damage. You won’t have to worry about staining, discoloration, or excess stickiness.
6. Hand Sew a Set in Patch
Whether you chose to cut a hole into a garment yourself or you’re trying to hide an accidental hole, this method is your best bet. A set in patch is placed under a whole on the inside (wrong side) of the fabric.
To properly use this method, make the hole look a little better. Cut off any thread that may have unraveled and make sure the shape of the hole is similar to the patch you want to add, just a little smaller.
Keep your garment inside out while you sew the patch on.
7. Darning Stitches
Darning stitches add a little pizazz to a plain patch. You can also cut a piece off your garment and use a darning stitch to replace it.
To attach a patch this way, you will need a sewing machine.
Check Out More of Our Site!
Now that you know how to attach patches, it’s time to go shopping for some styles you really like.
Want more fun articles about various topics? Follow our website today. We can teach you everything from how to make beef jerky to the history of bottle openers.

